How to start pole dancing at home: 4 setup steps before your first move
 Save
You can start pole dancing at home once you have a stable pole, enough clearance around it, and a plan for your first few moves. The process takes an afternoon to set up and a handful of sessions to feel secure. Most people begin with static mode, basic spins, and a few conditioning exercises that build the grip strength everything else needs. Cumbria Pole Art walks you through the equipment, the space, the safety checks, and the moves that make sense when you're learning alone.
Choose a pole that fits your ceiling height and floor type
Your pole needs to reach from floor to ceiling without wobbling. Measure the height of the room where you'll install it—most poles extend between two and three metres, and a few models go higher. Check whether your ceiling can take the pressure: a solid concrete or wooden joist ceiling works; a suspended ceiling or plasterboard alone does not. If you rent, ask your landlord before drilling.
Poles come in static-only models and spinning models. Static mode keeps the pole fixed, so you rotate around it using your own momentum. Spin mode lets the pole rotate on a bearing, which changes how every move feels and adds centrifugal force. Start with static mode until you're confident with grip and body position.
Diameter matters for hand size. A pole with a diameter of forty-five millimetres suits most beginners; a fifty-millimetre pole gives more surface area but can be harder to grip if your hands are small. Chrome is the most common finish—it grips well once warmed up and cleans easily. Brass offers more friction, and stainless steel sits between the two.
Clear a circle around the pole and check the floor
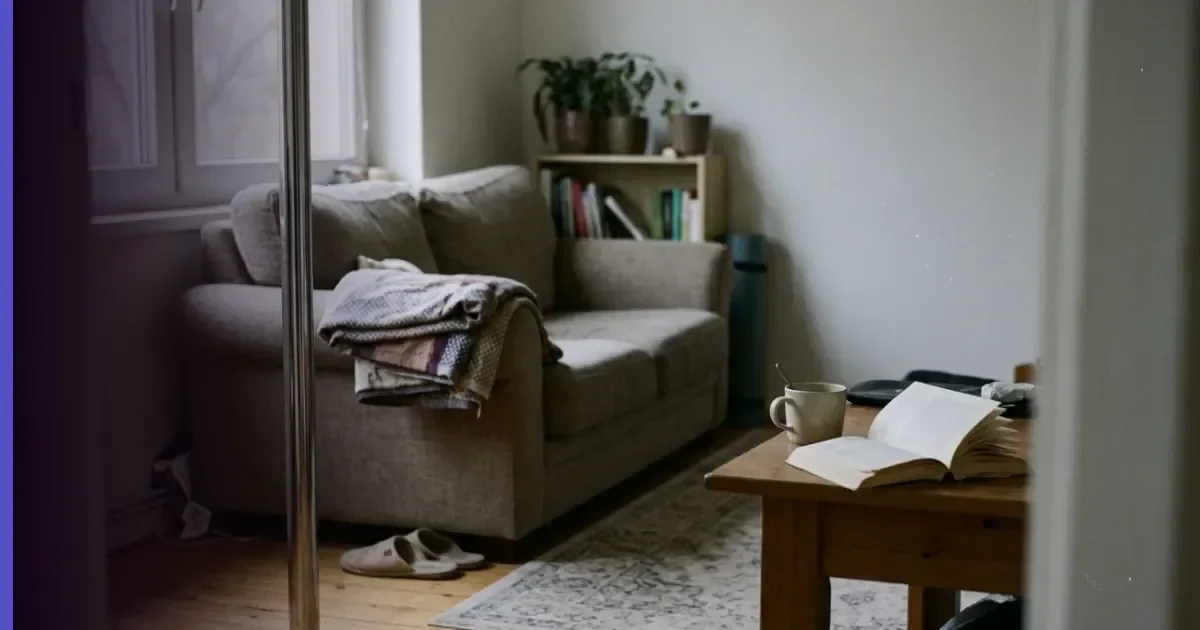
You need at least a metre and a half of clearance in every direction. Mark out the space with tape if it helps—when you spin, your legs and arms extend, and you'll travel further than you expect. Remove anything sharp, hard, or breakable. A coffee table, a shelf edge, or a radiator in the swing zone will end a session quickly.
The floor underneath should be level and firm. Carpet cushions falls but makes foot placement less predictable; a yoga mat or a thin crash mat on hard flooring gives you grip and some padding. If you're working on a wooden floor in a flat, consider the noise—spins and dismounts carry through to the room below.
Install the pole and test it under load
Follow the manufacturer's instructions exactly. Most poles use a tension mount: you extend the pole to the ceiling height, then tighten the dome or adjuster until it presses firmly against both surfaces. Check that the pole is vertical—use a spirit level if you have one. A pole that leans will shift under load.
Once installed, test it before you climb. Push it from different angles at shoulder height, then at head height. It should not rock, twist, or slide. Hang your full weight from it while keeping both feet on the floor. If it moves at all, tighten the fittings and test again. Recheck the tension every few sessions—it can loosen over time, especially on a new pole.
Learn three beginner moves in order
Start with the pole walk: stand beside the pole, grip it at shoulder height with your outside hand, and walk in a circle while keeping your body upright. This teaches you how much pressure you need to stay connected without gripping so hard that your hand cramps.
Next, the pole sit. Grip the pole with both hands at chest height, step one foot onto the pole at knee level, and hook the other leg around the back. Squeeze with your thighs and inner knees—the hold comes from your legs, not your hands. Bruising is common here at first; adjust your leg position until the pressure spreads across muscle rather than bone.
The fireman spin follows: grip high with your inside hand, step around the pole, and lift your outside leg as you swing. Keep your body close to the pole and your core tight. Speed builds with practice—start slow until the exit feels controlled.
Build grip strength and shoulder stability between sessions
Pole dancing asks more of your hands and shoulders than most daily tasks. Between sessions, work on dead hangs from a pull-up bar—hold for ten to twenty seconds, rest, repeat. This builds the forearm endurance that keeps you on the pole longer.
Plank holds and push-ups strengthen the shoulders and core. When you invert or hold a pole sit, your shoulders stabilise your entire body weight. A weak shoulder gives out before your grip does, and that cuts your session short. Strength training two or three times a week makes the difference between struggling through one move and stringing several together.
Sweaty hands reduce friction. Wash your hands before you start, and keep a towel nearby to dry the pole between moves. Some people use a small amount of resin or grip aid on their palms; others find it makes their hands too sticky. Try the pole dry first.
Warm up before every session and stretch afterwards
Cold muscles tear more easily. Spend five minutes on light cardio—jog on the spot, do jumping jacks, or walk up and down stairs. Then move through arm circles, leg swings, and a few squats to wake up the joints you'll use most.
After your session, stretch your shoulders, hip flexors, hamstrings, and inner thighs while they're still warm. Hold each stretch for twenty to thirty seconds. Flexibility improves faster when you work on it consistently, and most pole moves ask for more range of motion than walking or sitting give you.
What to wear and what to avoid
Bare skin grips the pole; fabric slides. Shorts expose your thighs and the backs of your knees, which are the main contact points for pole sits and leg hooks. A sports bra or a fitted vest keeps your torso secure without covering the skin you need for holds.
Avoid lotions, oils, or moisturiser on the day you train—they sit on your skin and transfer to the pole, making it slippery for the next move. If you wear shoes, choose ones with a platform and an ankle strap; most beginners start barefoot or in socks until they're comfortable with foot placement.
Set a schedule and track what works
- Train two or three times a week, with at least one rest day between sessions.
- Keep each session under an hour—your grip will fatigue before your legs do, and continuing past that point risks a fall.
- Film yourself from the side so you can see your body position; small adjustments to hip angle or hand placement often solve a move that feels stuck.
- Write down which moves felt secure and which didn't—patterns emerge quickly, and a written record stops you repeating the same mistake.
Progress is not linear. Some weeks you'll nail a new spin; others you'll spend the whole session working on something that felt easy the week before. Consistency matters more than intensity.
| Pole finish | Grip level | Best for |
|---|---|---|
| Chrome | Moderate once warm | Beginners; cleans easily and suits most skin types |
| Brass | High friction | People with naturally dry hands; warms up quickly |
| Stainless steel | Low to moderate | Hot climates; stays cool but can be slippery |
Common mistakes in the first month
Gripping too hard tires your hands before you've learned anything useful. Let your body weight do the work—your hands guide and stabilise, they don't carry everything. Relax your shoulders and keep your neck long; hunching forward pulls you off balance and strains your upper back.
Skipping the warm-up feels like saving time, but a cold shoulder or hip joint will remind you otherwise. Pushing through pain that sharpens or shoots is a mistake—dull aches in your muscles are normal after a session, but joint pain or a sudden twinge means stop and assess.
Comparing your progress to someone else's is pointless. Strength, flexibility, and body weight all affect how quickly a move clicks. Focus on what you could do last week versus what you can do now.
#Pole sit #Static mode #Beginners
Download PDF: Home pole setup checklist PDF, 29 KB
Further reading
Frequently asked questions
Do I need any experience before I start pole dancing at home?
No experience is required. You'll build the grip strength, shoulder stability, and body awareness you need as you practise. Most people start with basic spins and a pole sit, then progress from there.
How much space do I need around the pole?
At least a metre and a half in every direction. When you spin or extend your legs, you'll travel further than you expect, so clear the area of furniture, sharp edges, and anything breakable.
Can I install a pole in a rented flat?
Most tension-mounted poles do not require drilling, but you should check with your landlord first. Some poles leave marks on the ceiling or floor if the tension is too high, and a few rental agreements prohibit fitness equipment that attaches to the structure.
What type of pole should I buy first?
A static-mode chrome pole with a forty-five millimetre diameter suits most beginners. Chrome grips well once warmed up, and static mode lets you learn body positioning without the added challenge of spin.
How long does it take to feel confident on the pole?
Most people feel secure with basic spins and a pole sit after four to six weeks of consistent practice. Progress depends on how often you train, your starting strength, and how quickly you build grip endurance.
Is pole dancing at home safe on my own?
It is safe if you install the pole correctly, clear the space around it, warm up before every session, and avoid moves that feel beyond your current strength. A crash mat or yoga mat on the floor reduces impact if you slip.