How to stop bruising from pole dancing: 3 positioning shifts that reduce impact
 Save
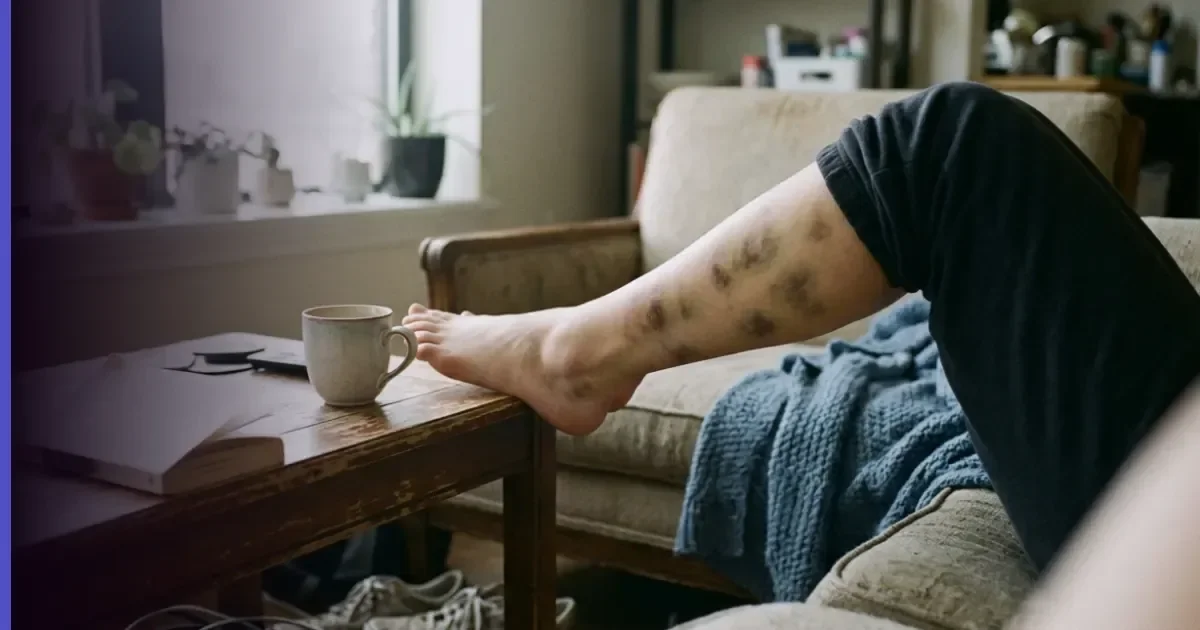
Bruising from pole dancing happens when your body weight presses against the pole through a small contact area, causing blood vessels under the skin to break. Most pole dancers bruise in the early weeks, particularly along the inner thighs, shins and the crease of the hip where pole sits and climbs load the skin. The bruising fades as your skin toughens, but adjusting how you position your body against the pole reduces the impact from the start. This guide separates normal contact bruising from signs of poor technique and gives you three alignment changes that spread your weight more evenly. Cumbria Pole Art explains what causes the worst bruising and how to reposition yourself in the moves that hurt most.
Bruises from pole dancing are contact pressure, not injury
A pole bruise forms where the pole presses into soft tissue with enough force to rupture small blood vessels. The inner thigh bruises from pole sits, the shin from climbs, the armpit from shoulder mounts. Each one marks a point where your full body weight or a significant portion of it rested on a curved steel surface smaller than your palm. Skin that has never taken this kind of pressure responds by bruising; after a few weeks of repeated contact, the capillaries near the surface toughen and bruising reduces.
Bruises are yellow-green within a week and gone within two. They feel tender to touch but do not throb or swell. Pain that persists after you step off the pole, or a bruise that deepens and spreads over several days, needs a rest and a check with a healthcare professional. Sharp, localised pain during a move is your body telling you the angle is wrong.
The pole sit causes the deepest inner-thigh bruising
The pole sit loads almost your entire body weight onto the back of one thigh, with the pole pressing into the soft tissue between your sitting bone and your hamstring. Beginners often sit too low, letting the pole dig into the crease where the thigh meets the buttock—the single most painful spot to bruise. Moving the contact point higher and further forward spreads the pressure along the hamstring and reduces the depth of the bruise.
Lean back slightly so your weight shifts towards your shoulder blades rather than sinking straight down. Engage your core to take some load off the thigh. The pole should sit across the meaty part of your hamstring, not in the fold of your hip. Hold the position for shorter intervals at first—three breaths, then step down—and build duration as your skin adapts.
Three positioning shifts that reduce bruising
- Spread contact over a larger surface. Wrap more of your leg around the pole instead of pinching it between your thigh and calf. In a climb, press the inside of your whole shin against the pole rather than hooking with the front of your ankle. The wider the contact patch, the lower the pressure per square centimetre.
- Shift weight to areas with more padding. In spins, aim for the outside of your thigh or the back of your calf rather than the bony shin or the inner knee. The body has natural cushioning in some places; use it. If a move hurts in one spot, rotate your leg a few degrees to find thicker tissue.
- Engage muscles before you load them. A contracted muscle sits firmer under the skin and spreads force more evenly than relaxed tissue. Before you grip with your thigh, squeeze the muscle first. Before you hook your leg, activate your shin and calf. Passive flesh bruises faster than muscle under tension.
Climbs bruise shins until your grip technique improves
Shin bruises from climbing come from gripping the pole with the front of your lower leg, where bone sits close to the skin. New climbers often squeeze with their ankles and the top of their foot, which drives the pole into the shinbone. The correct grip uses the inside edge of the shin and the arch of the foot, pressing inwards rather than pinching front to back.
Point your toes slightly and turn your knee outwards so the flat inner surface of your shin contacts the pole. Your foot should wrap behind the pole, arch pressing in, heel towards your opposite calf. This position uses the meatier part of your lower leg and keeps the vulnerable front edge of your shin away from the steel. Practise the leg position on the floor before you add height.
Inversions and shoulder mounts load the upper body
Moves that bring your hips above your head—inversions and shoulder mounts—press the pole into your upper arm, armpit or the side of your ribs. These areas bruise less than the legs because the contact is often brief and your shoulders and back carry part of the load. Bruising here usually means you are collapsing into the pole rather than pushing away from it.
In an inversion, push the pole away with your bottom arm and pull it towards you with your top arm. The opposing forces create a stable frame that stops you sagging into the steel. Your armpit should touch the pole lightly, not bear your weight. If you find deep bruises along your ribs, you are letting your torso fold instead of holding a hollow-body position. Strengthen your core and practise the shape on the floor with your legs raised until the engagement becomes automatic.
Warm up reduces bruising by preparing soft tissue
Cold muscles and skin bruise more easily than warm, pliable tissue. A warm-up increases blood flow to the area, which cushions impact and helps the body repair microtears faster. Five minutes of movement—jogging on the spot, arm circles, leg swings—before you touch the pole makes a measurable difference to how badly you bruise.
Dynamic stretches that mimic pole shapes are better than static holds. High knees, hip openers and shoulder rolls prepare the exact areas that will take pressure. Finish with a few gentle pole spins in static mode to acclimatise your skin to the contact. A proper warm-up does not eliminate bruising, but it reduces the severity and the recovery time. Building strength for pole dancing covers muscle activation that supports your skin during loaded moves.
Clothing choices make bruising worse or better
Bare skin grips better than fabric, which is why most pole dancers wear shorts—but bare skin also bruises more visibly. A thin layer between your skin and the pole spreads pressure slightly and can reduce bruising in the first few weeks, though it compromises grip. Knee pads designed for pole dancing protect the shin during floor work and some climbs, and padded shorts cushion the hips in pole sits, but both are training aids rather than permanent solutions.
Once your technique improves and your skin toughens, you will grip more securely without padding. Tight leggings or compression sleeves do not prevent bruising—they may even worsen it by bunching under pressure—but they do hide bruises if you need that. Compression worn after a session can reduce swelling, though the evidence for faster healing is weak.
When bruising signals a technique problem
Bruises in unexpected places—the top of your foot, the back of your upper arm, your collarbone—usually mean you are using the wrong part of your body to grip or entering a move at the wrong angle. A single deep bruise in the same spot after every session points to a repeated positioning error. Film yourself or ask an instructor to check your form.
Bruising that appears without corresponding pain during the move is normal contact pressure. Pain that stops you holding a position, or that shoots down your leg or arm, is not. Trust sharp pain and step down immediately. If a move consistently causes both pain and bruising, break it into smaller progressions and work on the shapes separately before you combine them. The fireman spin is a common culprit for inner-knee bruising when the leg hook is too loose or too tight.
Recovery and skin conditioning between sessions
Bruised skin heals faster with rest, but you do not need to stop training. Work on moves that load different body parts and give bruised areas a few days to yellow and fade. Arnica gel or a cold compress in the first hours after training may reduce swelling, though results vary. Vitamin C and adequate protein support tissue repair, but no supplement prevents bruising outright.
Your skin adapts to pole over the course of weeks. The first month is the worst for bruising; by the third month, most dancers bruise only when learning a new high-impact move. Conditioning happens through consistent training, not by trying to toughen your skin with rubbing or scratching. Patience and correct positioning do more than any cream or wrap.
| Move type | Common bruise location | Positioning adjustment |
|---|---|---|
| Pole sits | Inner thigh, hip crease | Sit higher on the hamstring, lean back slightly |
| Climbs | Front of shin | Use inside edge of shin, arch of foot presses in |
| Inversions | Armpit, ribs | Push pole away, hold hollow-body position |
| Spins | Inner knee, shin | Rotate leg to thicker tissue, engage muscles first |
Download PDF: Reducing pole bruising: positioning checklist PDF, 29 KB
Further reading
Frequently asked questions
Do pole dancing bruises go away?
Yes. Most pole dancing bruises fade from purple to yellow-green within a week and disappear completely within two weeks. Your skin toughens with regular training, so bruising becomes less frequent after the first few months.
How do you prevent bruising from pole dancing?
Spread your weight over a larger surface area, shift contact to areas with more padding, and engage your muscles before you load them. Warm up properly, check your positioning in high-impact moves like pole sits and climbs, and give your skin time to adapt.
Why does pole dancing hurt my shins?
Shin pain from pole dancing happens when you grip the pole with the front of your shinbone instead of the inside edge. Rotate your leg slightly so the flat inner surface of your shin contacts the pole, and press inwards with the arch of your foot.